Git Version Control Series: Setting Up Git
This is the fourth in a series of blog posts around Git and a new feature in cPanel & WHM Version 72, Git Version Control. In case you missed them, there is a list at the bottom of this post. Keep watching for a new one every Wednesday!
Git’s extremely useful when you configure it to transfer content between a local and remote repository. When you set this up, changes on your local branch automatically push to your cPanel-hosted repository. Of course, before you can use our feature for this, you will need to set everything up.
Creating repositories
Before you can do anything in Git, you need repositories! You’ll need one on your local computer and one hosted on your cPanel account.
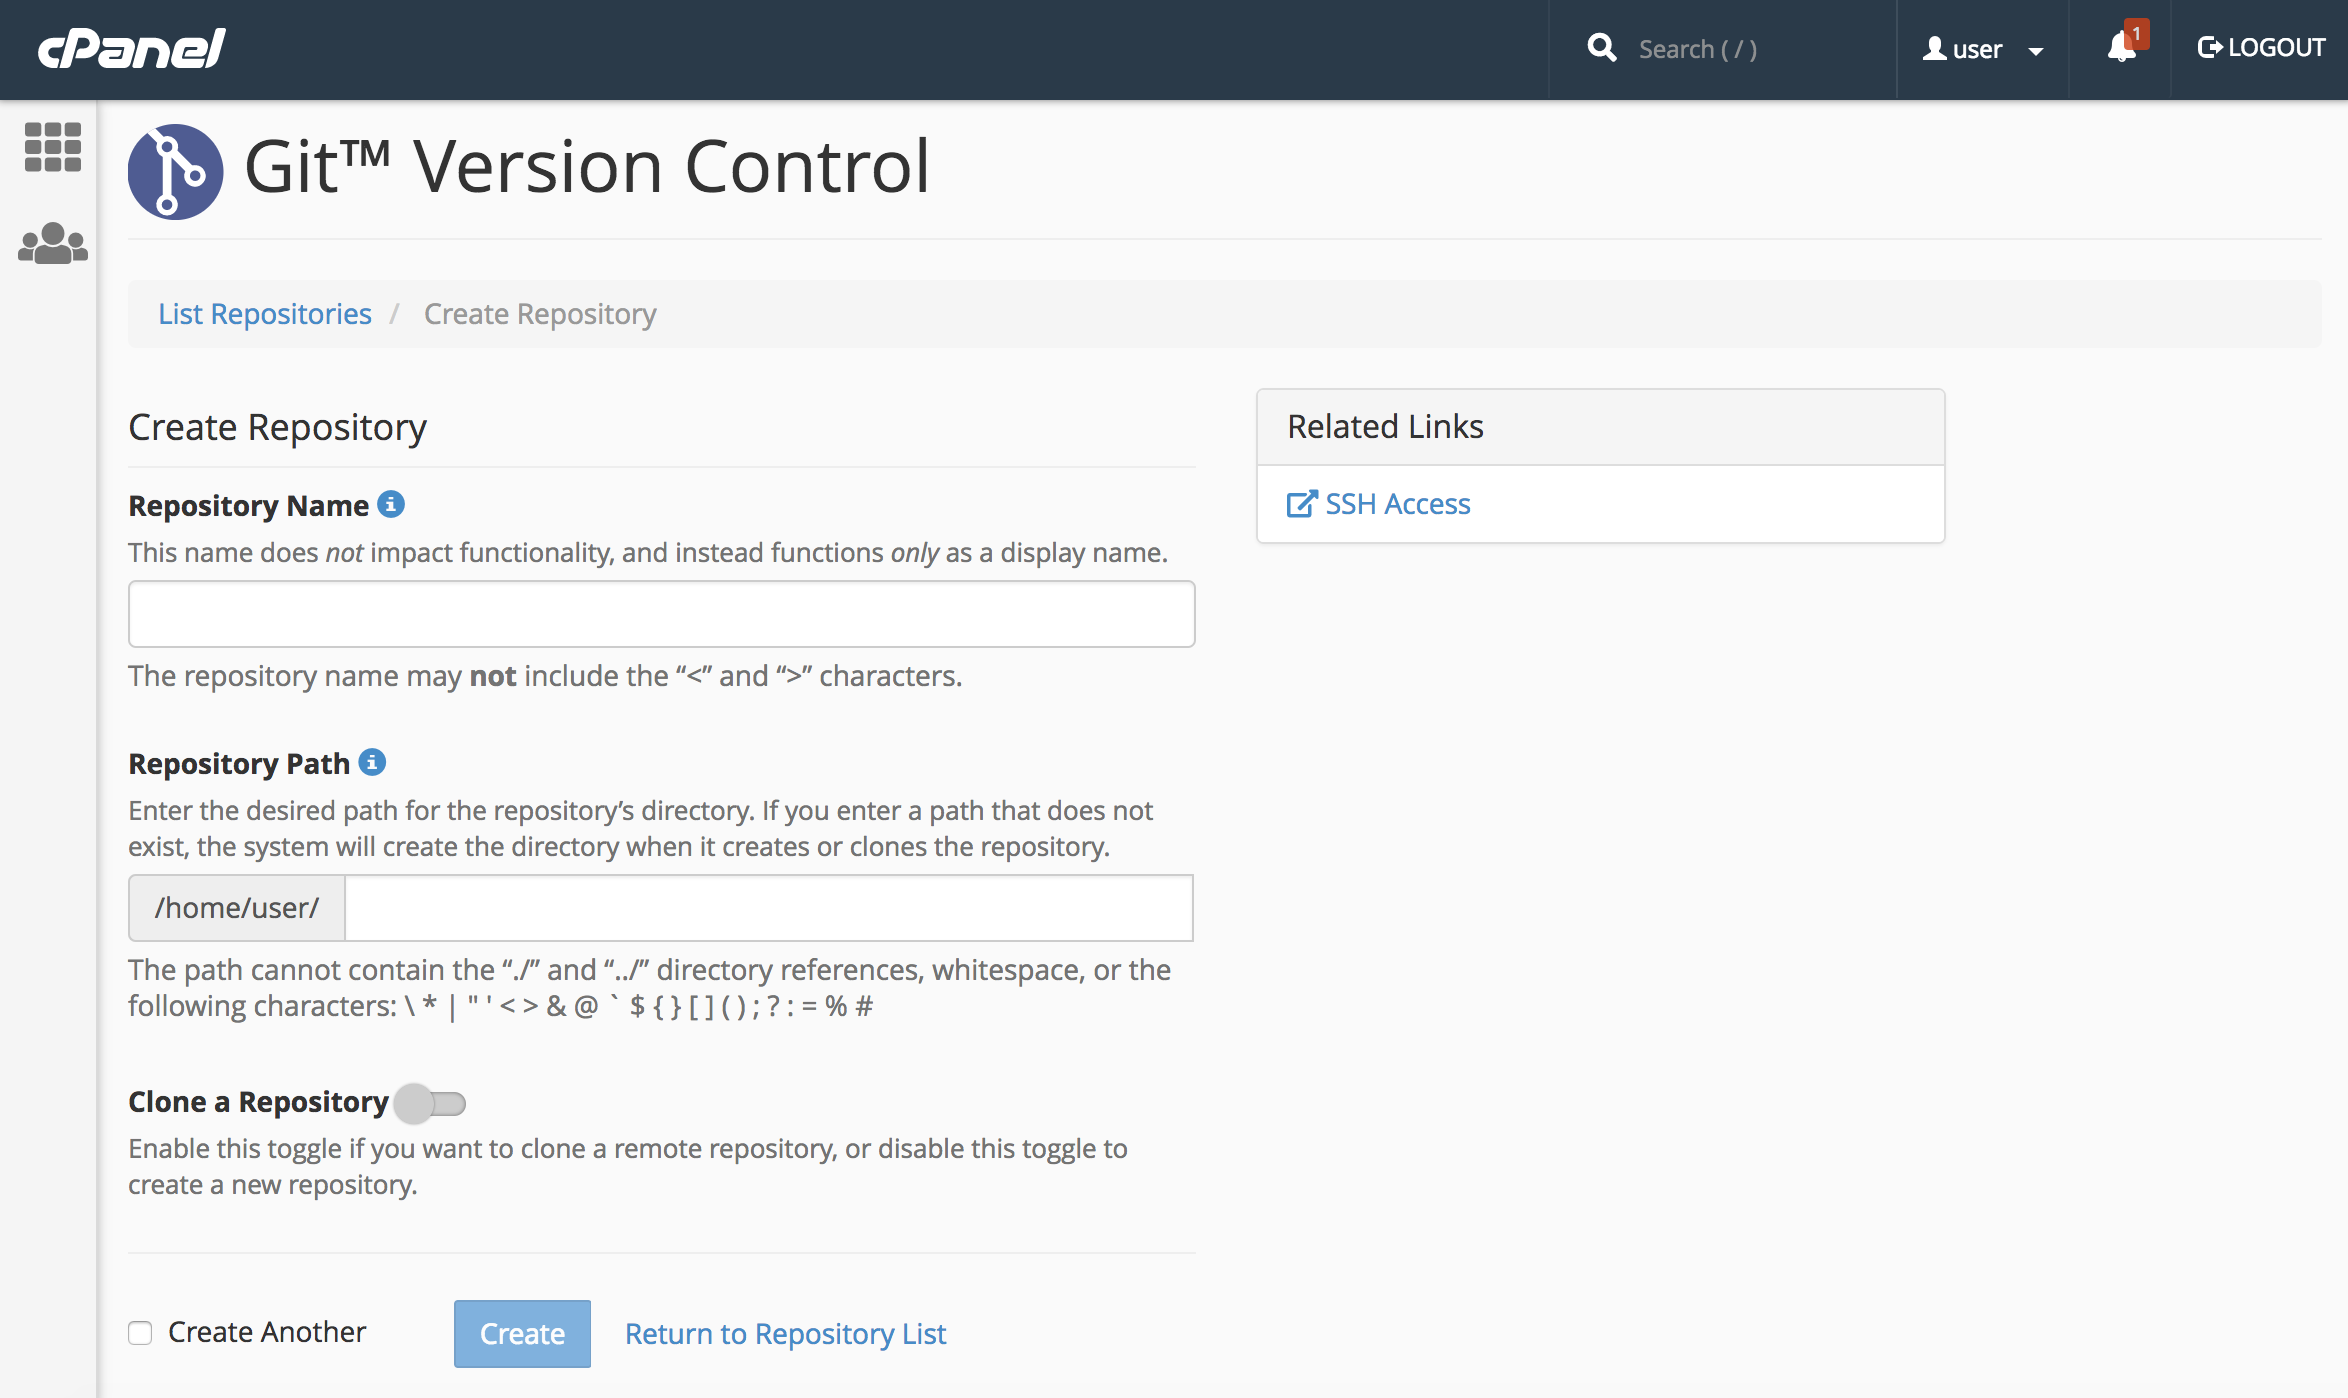
To create one on your cPanel account, log in and navigate to the Git Version Control interface. Then, click Create, enter a repository name and path, and click the toggle to create a new repository rather than cloning one.

Now, you want to clone that repository to your local computer. You could create a new repository with the ‘git init’ command and then hook everything up to use your cPanel-hosted repository as the remote, but trust us — this is easier.
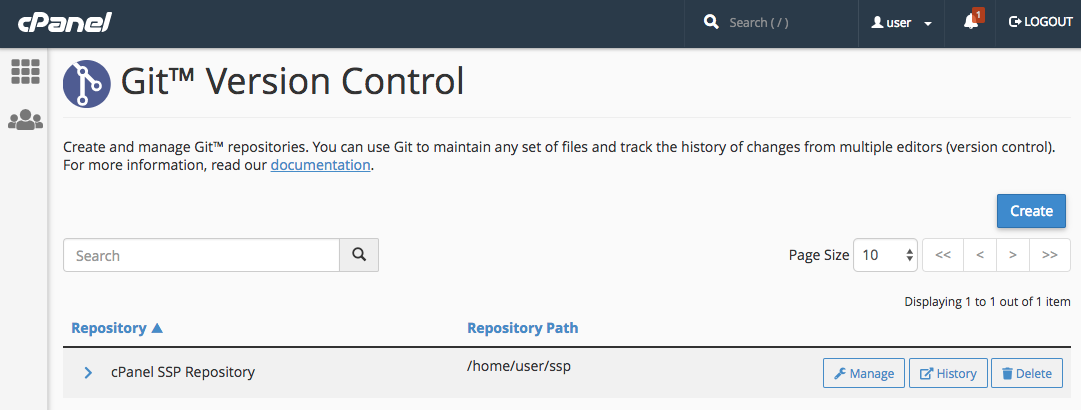
Go back to the list of repositories, find your new repository, click the expand button, and then copy the clone URL to your clipboard. Then, run the ‘git clone’ command. (You can find that command and a few others on the success page when you first create a repository.)
Projects/my-repo $ git clone clone-URL-here
Setting up your workflow
To ensure that you don’t accidentally transfer changes, create and check out a separate branch. Here, we’re calling that branch ‘release’.
Projects/my-repo $ git checkout -b release
Then, push the branch to the cPanel-hosted repository.
Projects/mp-repo $ git push -u origin release
Congratulations! The branch on your local computer is connected to the branch on your cPanel account. Git now assumes that you want changes on the local branch pushed to your cPanel-hosted repository. You’re not quite finished yet, though.
Log in to your cPanel account and go to the Git Version Control interface to perform the final step. Locate the repository in the list, and click Manage.

In the Active Branch menu, you should see your branch. Select it, click update, and you’re done.
Keep everything up-to-date
Your cPanel-hosted repository is a full repository with all of the features of any Git repository. You should make sure to push and pull regularly. Unlike other Git hosts, cPanel-hosted repositories include access to the repository’s working tree. Because of this, you should work in your local computer’s copy of the repository. Then, push the work up to your cPanel-hosted repository when you’re ready.
Select the right branching strategy for your needs
When you use your repository, you’ll want to set up a branching strategy to help you separate lines of development. There are a couple of different ways to do this, and the method you choose should be tailored to your specific needs.
Skip authentication without skipping good security practices
When you push or pull, Git will ask you to authenticate with your cPanel account. To skip this step without security risks, install your SSH public key on your cPanel account and authorize it. You can use the SSH Access interface in cPanel to set this up.
Write great commit messages
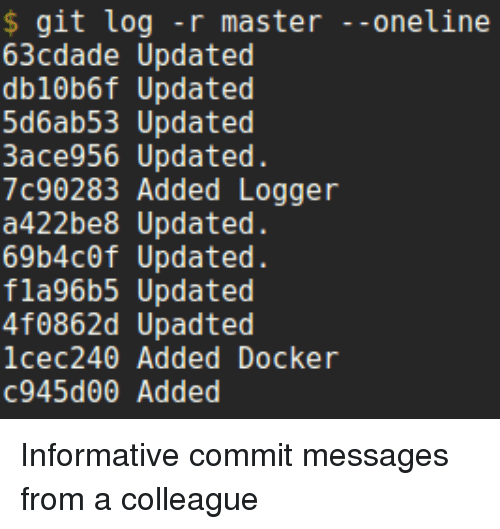
When you commit changes, you also create a commit message to send with them. Good commit messages make Git really useful.

Since we display the first line in the interface, they’ll help you quickly identify the state of your active branch, too. There are some great guides to creating good commit messages.
If you already use Git, we hope that this feature will knock your socks off! If you don’t, we’re hoping we can help you start!
Check out the SnapBlox blog and follow us on Twitter to keep up-to-date with the latest news in web hosting, security, and scripting.
Need to catch up on the previous posts about Git Version control? Here they are!
